Day 2: Adding Firebase to your project
Before we are able to use any of Firebase services, you need to connect the Firebase Cloud to your project. Let's begin!
Step 1: Create a Firebase Account
Go to https://firebase.google.com, and sign in with a Google account. After logging in, you should be redirected to https://console.firebase.google.com/.
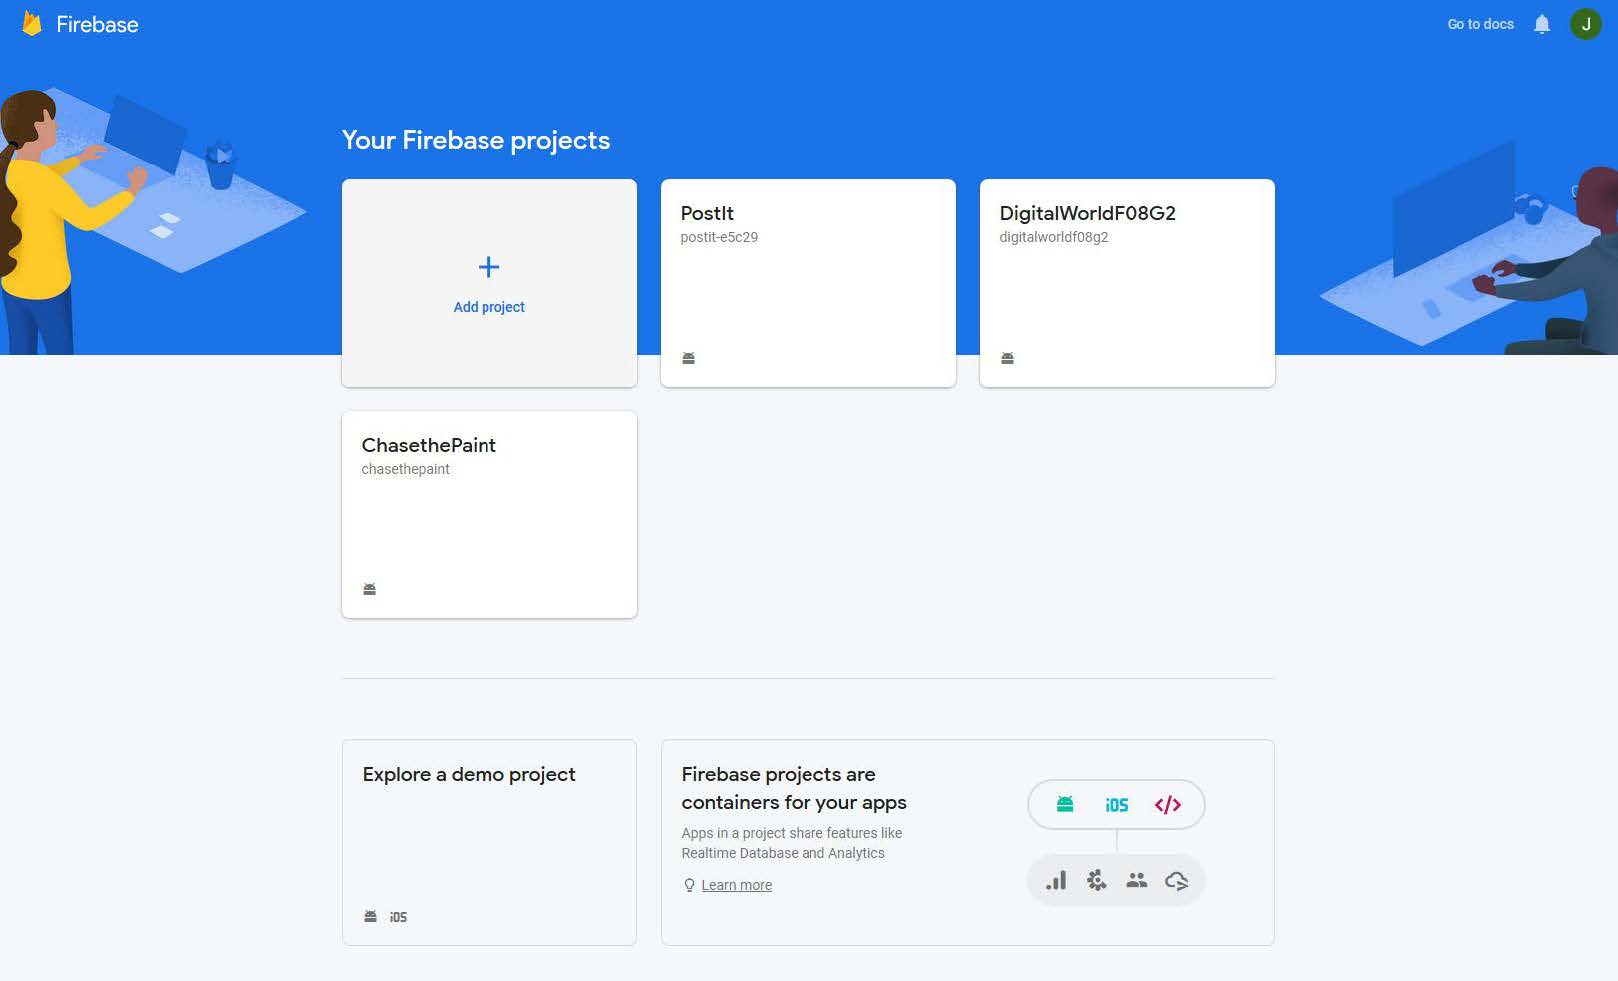
Step 2: Create a Firebase Project
- Click on the big Add Project Button, and enter a project name for your application (I will use
PetApp) - The next screen will ask if you want to enable Google Analytics for your app. This doesn't really matter since we won't be using it, but I would just disable it for now.
- Go ahead and click Create Project
- Wait for it to be done and click Continue. You have now created your first Firebase Project!

Step 3: Linking the Firebase Project to your Android App
- Click on the Android Icon to add Firebase to Android
-
The first field will ask you for your Android package name. To find it, go to the
build.gradle(Module:app)file in your Android Studio project (It is found underGradle Scripts). Look for theapplicationId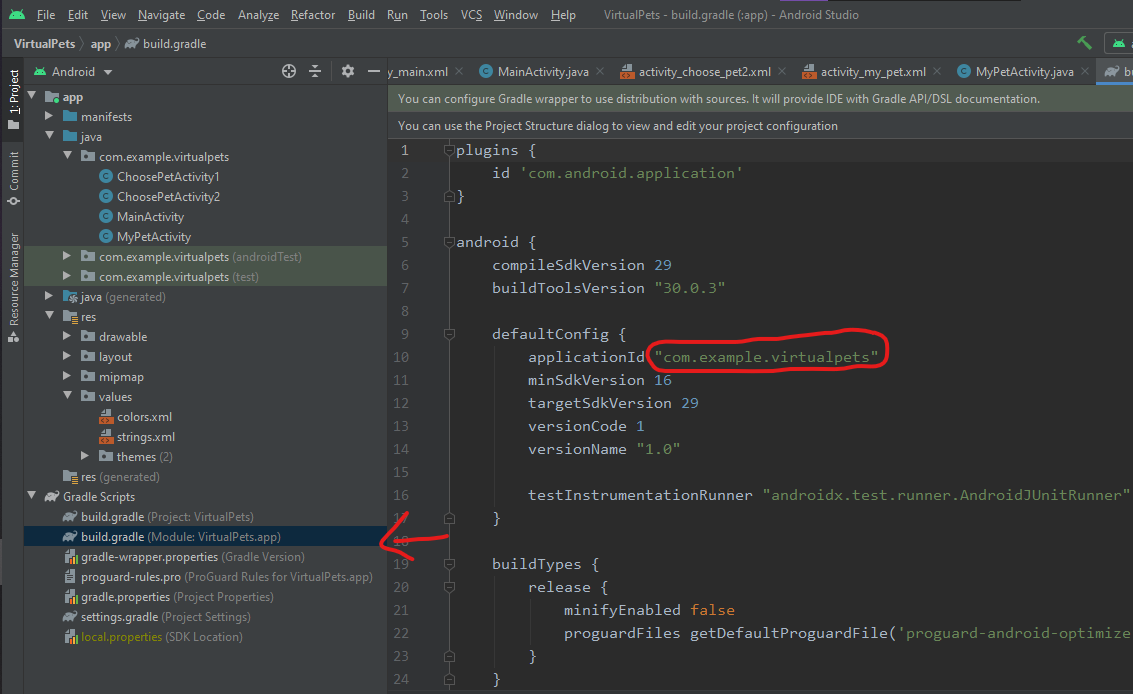
-
Fill in a nickname for
App nickname -
We need the debug certificate finger. Open a terminal (look at your bottom bar), and key in the following command (choose based on your OS):
If you are facing issues with
keytool, consider using the GUI method described here# For Windows keytool -list -v -alias androiddebugkey -keystore %USERPROFILE%\.android\debug.keystore # For Mac/Linux keytool -list -v \ -alias androiddebugkey -keystore ~/.android/debug.keystore -
When prompted for the password, type in
android -
It will display the debug key under
SHA1. Copy the numbers after it, and paste it into the signing certificate field on firebase.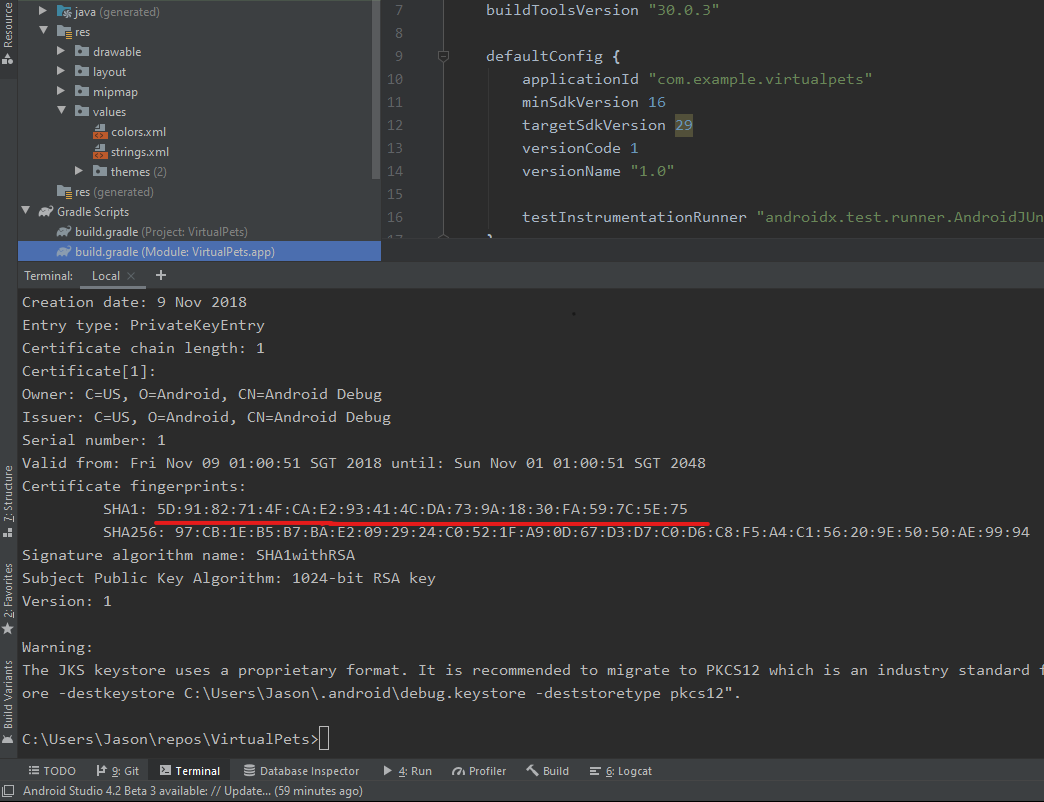
-
Click Register
-
Download the
google-services.jsoninto yourappfolder. Then click Next
-
We now need to add Firebase SDK to our app. Go to the project-level
build.gradleand add the following code underdependencies:classpath 'com.google.gms:google-services:4.3.4'
-
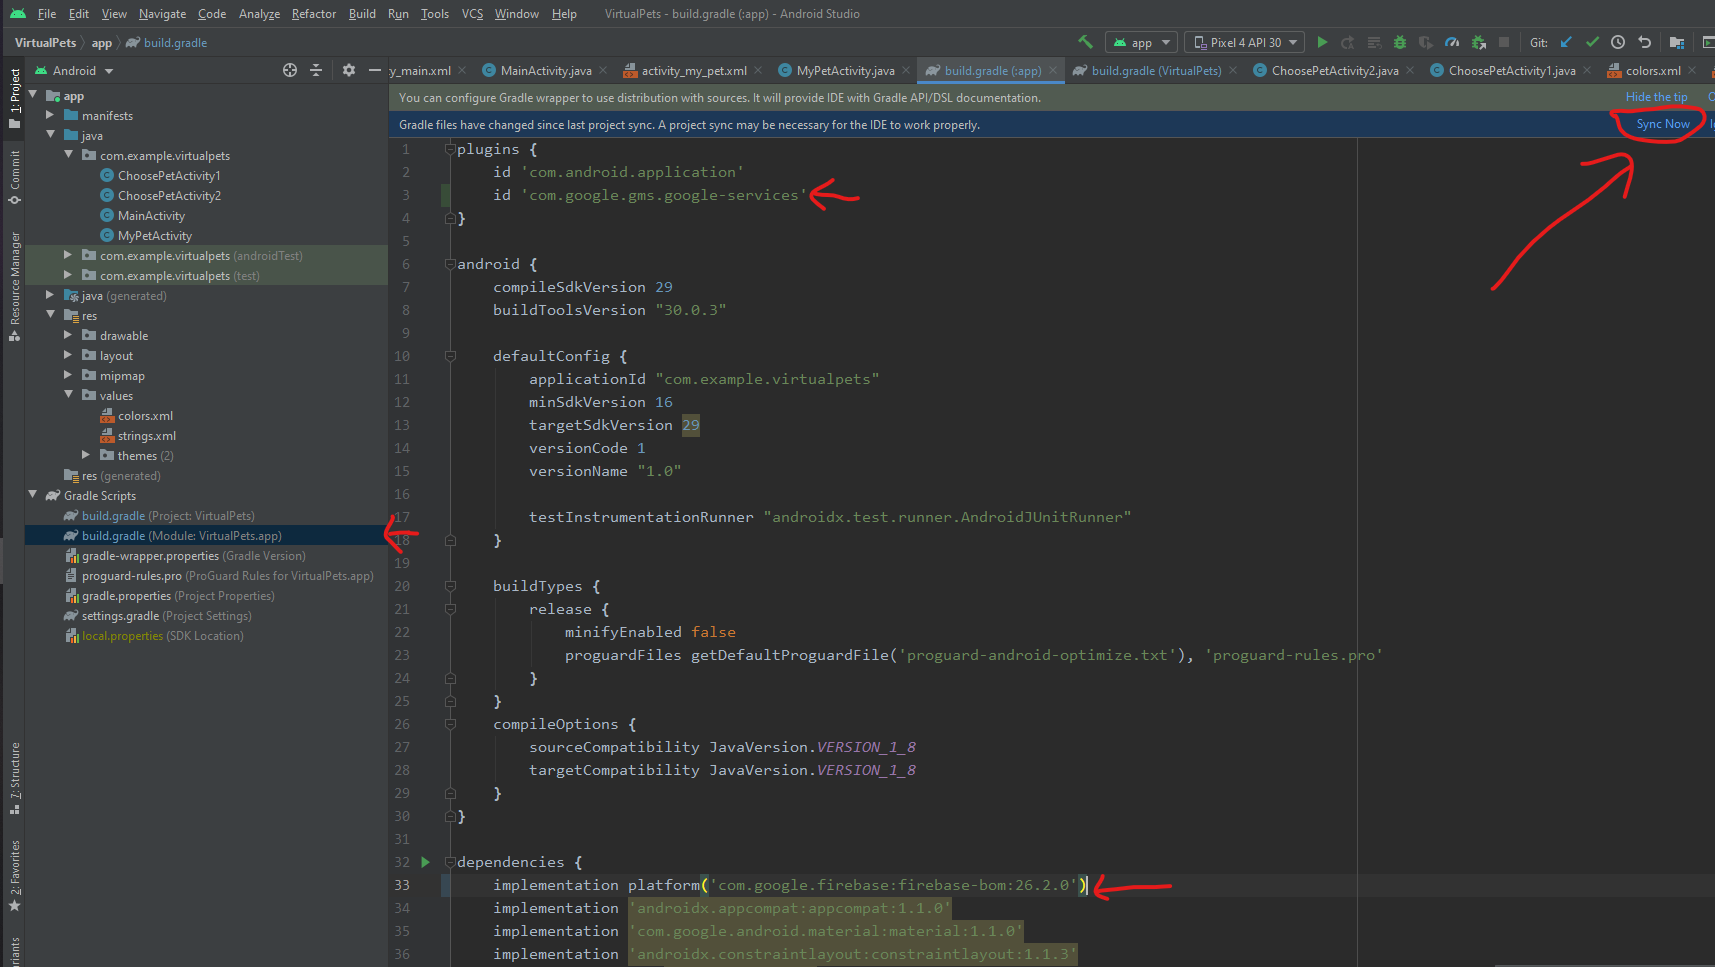
Now go to the module-level
build.gradle. Add the following code underplugins:id 'com.google.gms.google-services' -
While still in module-level
build.gradle, add the following code underdependencies:implementation platform('com.google.firebase:firebase-bom:26.2.0') -
Press Sync Now near the top right.
-
Gradle will take some time to sync. You can see its progress near the bottom of the screen. Meanwhile you are done with the setup on the Firebase Website, so click Next and Continue to the Console.
We are now done with adding the core Firebase SDK! Now let us start adding the individual Firebase components!