Day 2: Firebase Storage
So far, we have learnt how to store data such as strings, integers on our Realtime Database. However, what if we wanted to store something a little more complex, such as images? For example, let's say we want to give users the option to change the display image of their pets, and we want these images to be shared across any device they use, how should we go about doing that?
Firebase Storage is a great solution to this problem.
Creating a Firebase Storage Bucket
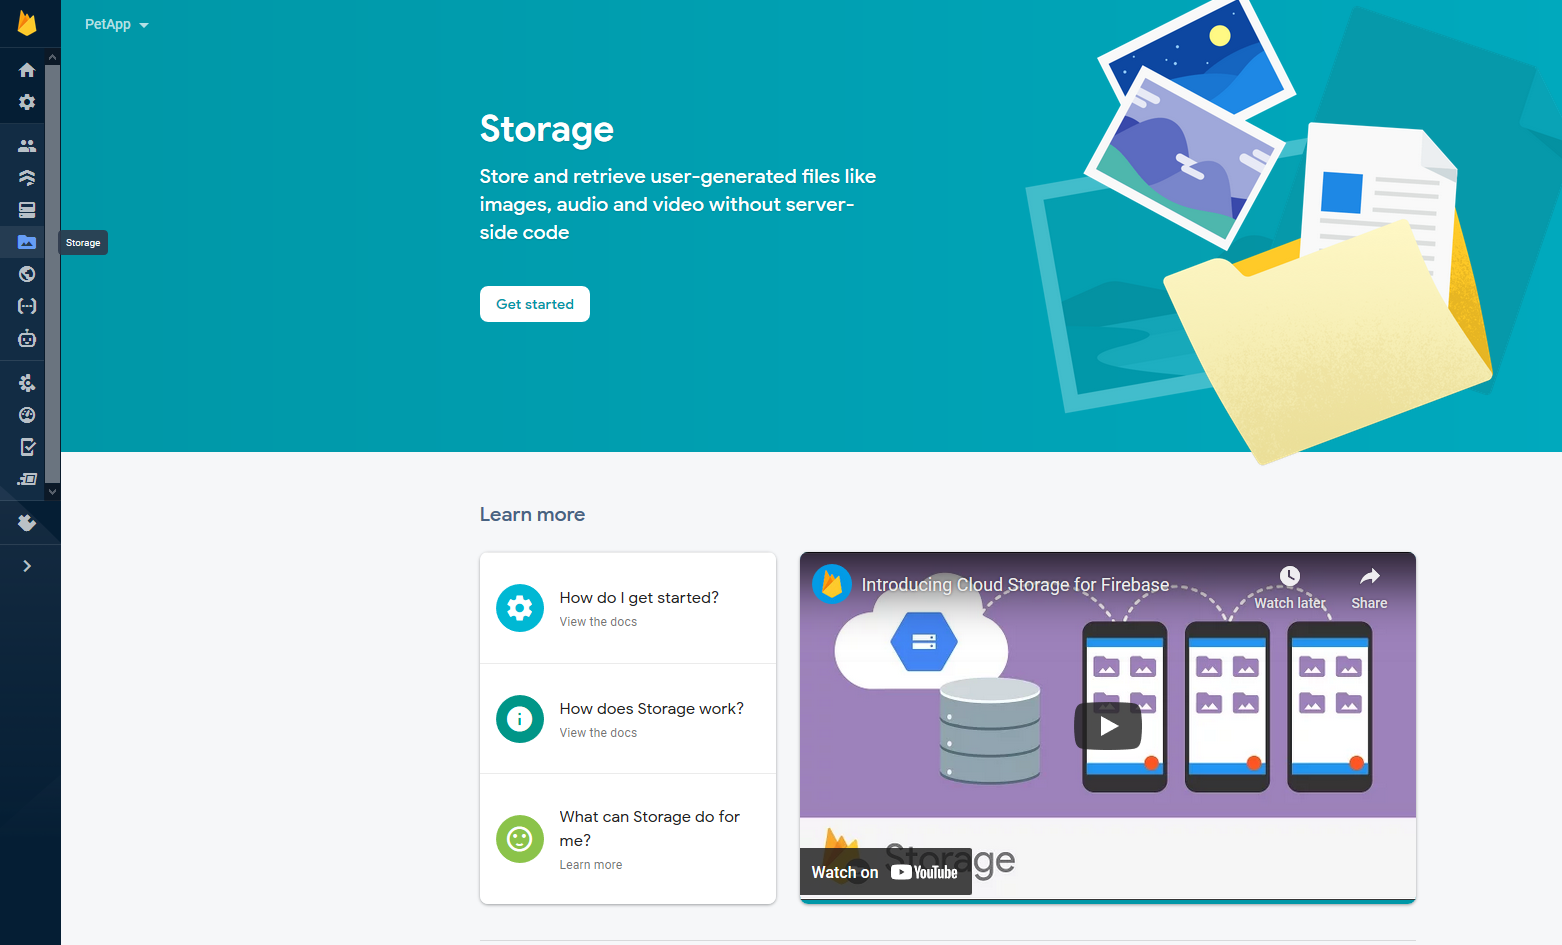
- Go to the Firebase Console Website, and look on the left for Storage.
- Click on Get Started, click Next, and then select your Cloud Storage Location. Select
asia-southeast2for the location, and press Done. After it is done loading, you should see something like this
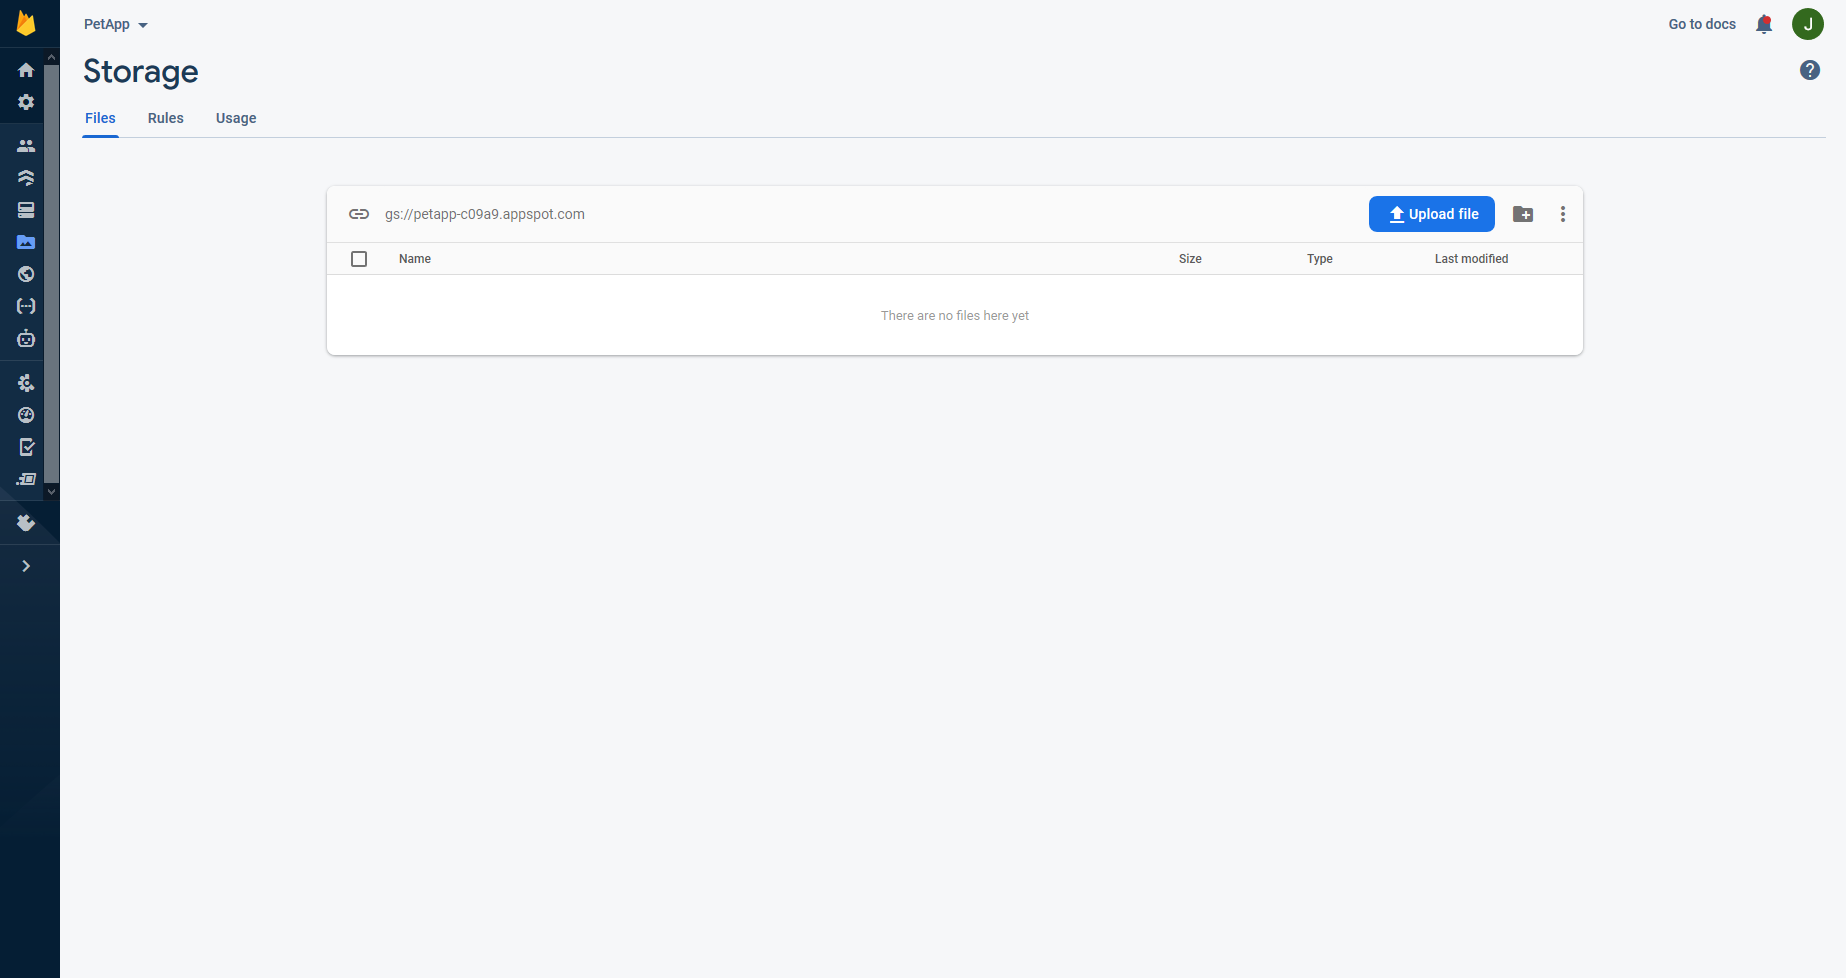
- You now have a Storage Bucket. Right now, our Firebase Storage only allows Authenticated users to access this storage. This is okay for us since our users need to be authenticated to use the app.
Setting up Firebase Storage on our Android app
We'll need to add this line of dependency to the module-level build.gradle file, under dependencies:
implementation 'com.google.firebase:firebase-storage'
As usual, remember to press Sync now
Overall Flow for our App
Our overall flow we need to add in the Android App will be to:
- Display an Image Picker when the images in
MyPetActivityare clicked - Using the image selected, upload the image to a predefined location in Firebase Storage
- Retrieve the Image Url of the uploaded image
- Store this Image Url under our user and corresponding pet in Firebase Realtime Database
At the same time, we will also need our App to:
- Constantly listen for changes in the Image Url of the pets
- Download the new image if any image url is changed
- Set the ImageView to our new downloaded image
Creating an Image Picker
Let's try to make it such that clicking on the pet images in MyPetActivity triggers a dialog to open an Image Picker.
-
We will first need to configure our ImageViews in
MyPetActivityto open a dialog for us to choose an Image to change to. To start off, create an onClickistener for each of other ImageViews, by pasting this code in theinitialiseWidgetsForPetsfunction.2. Then will need to create an Intent to select an image. Similar to opening our FirebaseUI, we first need a request code for this intent. In this case actually, we will use 2 request codes to differentiate between the 2 different pets. Copy the following to the top level of ourpetImage.setOnClickListener(view -> { });MyPetActivityclass.private final static int RC_PICK_IMAGE_1 = 1; private final static int RC_PICK_IMAGE_2 = 2; -
We will need to modify our
initialiseWidgetsForPetfunction to accept a request code as a parameter, so that the function knows which request code to use.private void initialiseWidgetsForPet(String petId, ImageView petImage, int imageRC, TextView hungerText, Button petButton, String pet, int petHungerValue) { ... -
Now we need to actually create the intent. Inside our OnClickListener, copy this
Intent intent = new Intent(); intent.setType("image/*"); intent.setAction(Intent.ACTION_GET_CONTENT); startActivityForResult(Intent.createChooser(intent, "Select Picture"), imageRC);
Uploading a file to Firebase Storage, and getting the URL
-
Once again, we will need to listen for the result of our Image Picker Request, using the
OnActivityResultFunction, and also check that the result indeed came from the image picker request. In ourMyPetActivityclass, type in the following function:@Override protected void onActivityResult(int requestCode, int resultCode, @Nullable Intent data) { super.onActivityResult(requestCode, resultCode, data); if (requestCode == RC_PICK_IMAGE_1 || requestCode == RC_PICK_IMAGE_2){ // more code goes here } } -
We can use an
InputStreamwhich will eventually help us to upload the image. I will not describe much about the input stream, because it is out of the scope of this workshop.Note: A
try/catchblock is used, since there is a chance the upload will failtry { InputStream inputStream = getContentResolver().openInputStream(data.getData()); // need to do more work here } catch (FileNotFoundException ex) { } -
We now need to get a reference to our Firebase Storage, and the location we want to put it in. For now, we will put our image under a folder named after our user id. We shall name the image either
1or2depending on which pet it is. Conveniently, this will be the same number as our request codeimageRC. The syntax to get the references are similar to Firebase Realtime Database.StorageReference storageRef = FirebaseStorage.getInstance().getReference(); String userId = FirebaseAuth.getInstance().getCurrentUser().getUid(); StorageReference userStorageRef = storageRef.child(userId).child(Integer.toString(requestCode));Warning: Steps 4 to 8 are fairly complex, it's ok if you cant understand
-
Now that we have a reference to where we want to upload our image, we just need to push the stream that we created in Step 6 to our reference. This can be done using
putStream(stream)method. ThisputStreammethod is a task that executes asynchronously (sepearate from the UI). - Recall we want to get the download URL for our image as well. While this can be performed by using
userStorageRef.getDownloadUrl(), this in itself is an additional side-task that we must perform and request from Firebase Storage. We can continue from our previousputStreamtask usingcontinueWithTask(newtask). - Finally, we need to collect the result of the
getDownloadUrl()task. This can be done withaddCompleteListener(task -> {}). - After collecting the result, we need to check if the task was successful.
- If the task was successful, we can get the image URL using
task.getResult().toString() -
Now we need to upload the new image URL to the Firebase Realtime Database, under our user and the correct pet. Note that we can get the correct pet by simply combining
"pet"with the request code value.userStorageRef.putStream(inputStream) // Step 4 .continueWithTask(taskSnapshot -> { // Step 5 return userStorageRef.getDownloadUrl(); }).addOnCompleteListener(task -> { // Step 6 if (task.isSuccessful()) { // Step 7 String imageUrl = task.getResult().toString(); // Step 8 mUserRef.child("pet" + requestCode) .child("imageUrl").setValue(imageUrl); // Step 9 } });
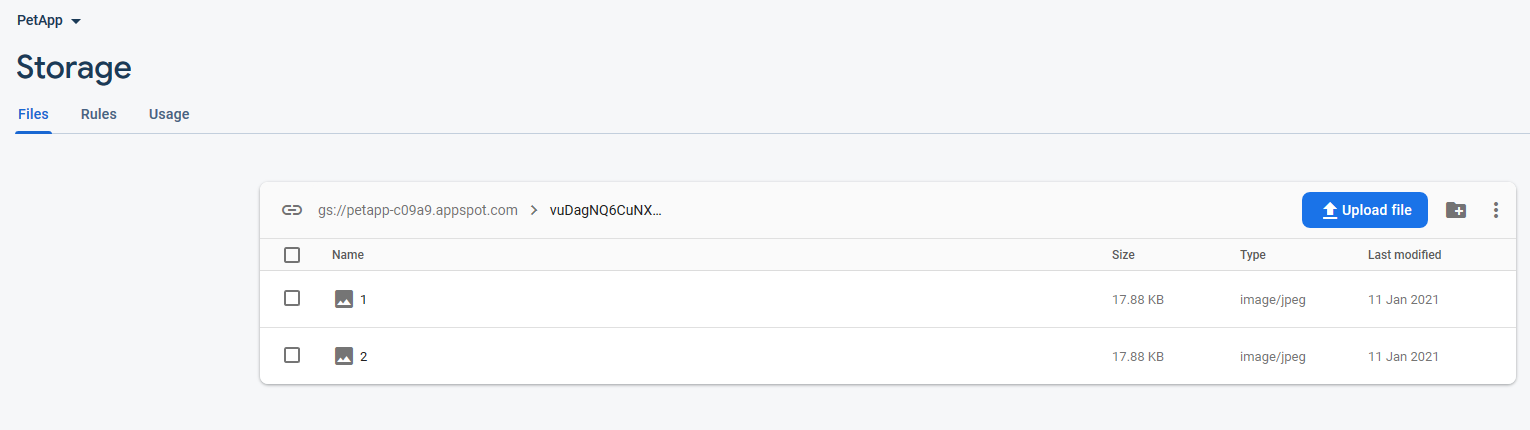
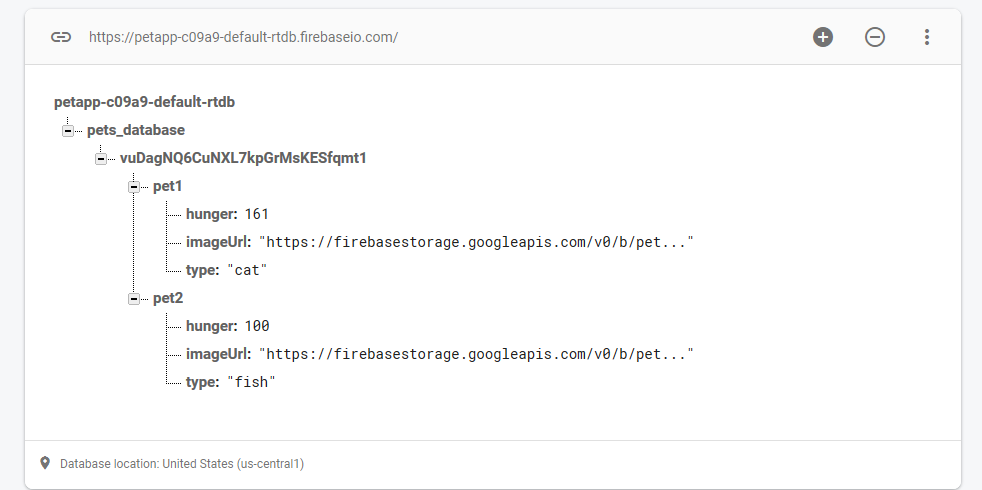
If you test out now by picking an image (Hint, you can download images on your phone by going to the mobile Chrome Browser), you should be able to see the image being uploaded to Firebase Storage, and the image URL appear in Firebase Realtime Database.
Storage:
Realtime Database:
Downloading an Image from Firebase Storage
We now need to get our ImageView to automatically update whenever a new image is uploaded to Firebase Storage. To do that, we need to listen for changes in the imageUrl of each pet on Firebase Realtime Database.
Hold up, if we upload a new image to the same directory in our Firebase Storage, won't there be no change in the image URL? The answer is that Firebase Storage actually uploads new images to new storage locations on the Firebase servers, so the image URL will actually change.
-
We need to add a
ValueEventListenerto listen for changes in theimageUrlof each pet. To do that, add the following code in theinitialiseWidgetsForPetfunction (after the whole block ofpetImage.setResources)mUserRef.child(petId).child("imageUrl").addValueEventListener(new ValueEventListener() { @Override public void onDataChange(@NonNull DataSnapshot snapshot) { // need to add more code here } @Override public void onCancelled(@NonNull DatabaseError error) { } }); -
For safety, we need to check if the
imageUrlactually exists, usingsnapshot.exists() -
At this point, we just need to download the image and set it to the ImageView. Unfortunately, this by itself is an extremely tedious task again, because you will need to run the download asynchronously in a way to not cause "hangs" in our UI while downloading. Just copy this
setBitmapFromURLfunction which I have written for you to the bottom of yourMyPetActivityclass. It takes in the download url and the image view you want to seet as the parameters, and does all the work for you. You can read the code comments to try understand the code if you want.private void setBitmapFromURL(String imageString, ImageView imageView) { new Thread(() -> { // We will need to download the image, on a separate thread/process to avoid hanging our UI try { // We use try/catch since our download may not succeed // First convert the url to a URL type object URL imageURL = new URL(imageString); // Set up connection to the URL HttpURLConnection connection = (HttpURLConnection) imageURL.openConnection(); // Used to indicate we are using the URL connection for input connection.setDoInput(true); // Attempt to initiate the connection connection.connect(); // Get an inputstream that will receive our Image InputStream inputStream = connection.getInputStream(); // Convert the bytes received from the stream into a Bitmap Bitmap bitmap = BitmapFactory.decodeStream(inputStream); // Now that we have our downloading Bitmap, we go back to the thread running the UI // so we can finally set the bitmap to the ImageView runOnUiThread(() -> imageView.setImageBitmap(bitmap)); } catch (Exception ex) { } }).start(); } -
Since I have done all the work writing the function for you, all that's left to do is to extract the imageUrl from the
dataSnapshotinonDataChangeand use the function I gave you.String imageUrlString = snapshot.getValue(String.class); setBitmapFromURL(imageUrlString, petImage);
Final Code for MyPetActivity.java
package com.example.virtualpets;
import androidx.annotation.NonNull;
import androidx.annotation.Nullable;
import androidx.appcompat.app.AppCompatActivity;
import android.content.Context;
import android.content.Intent;
import android.content.SharedPreferences;
import android.graphics.Bitmap;
import android.graphics.BitmapFactory;
import android.net.Uri;
import android.os.Bundle;
import android.util.Log;
import android.widget.Button;
import android.widget.ImageView;
import android.widget.TextView;
import com.google.android.gms.tasks.Task;
import com.google.firebase.auth.FirebaseAuth;
import com.google.firebase.auth.FirebaseUser;
import com.google.firebase.database.DataSnapshot;
import com.google.firebase.database.DatabaseError;
import com.google.firebase.database.DatabaseReference;
import com.google.firebase.database.FirebaseDatabase;
import com.google.firebase.database.ValueEventListener;
import com.google.firebase.storage.FirebaseStorage;
import com.google.firebase.storage.StorageReference;
import java.io.FileNotFoundException;
import java.io.InputStream;
import java.net.HttpURLConnection;
import java.net.URL;
public class MyPetActivity extends AppCompatActivity {
DatabaseReference mDatabase;
DatabaseReference mUserRef;
private final static int RC_PICK_IMAGE_1 = 1;
private final static int RC_PICK_IMAGE_2 = 2;
@Override
protected void onCreate(Bundle savedInstanceState) {
super.onCreate(savedInstanceState);
setContentView(R.layout.activity_my_pet);
// Set references to widgets in layout file
ImageView pet1Image = findViewById(R.id.pet1Image);
TextView pet1HungerText = findViewById(R.id.pet1HungerText);
Button pet1Button = findViewById(R.id.pet1Button);
ImageView pet2Image = findViewById(R.id.pet2Image);
TextView pet2HungerText = findViewById(R.id.pet2HungerText);
Button pet2Button = findViewById(R.id.pet2Button);
// Get copy of sharedpreferences
SharedPreferences sharedPref = getSharedPreferences(getString(R.string.preference_file_key), Context.MODE_PRIVATE);
// Get Pet1, default to cat
String pet1 = sharedPref.getString("pet1", "cat");
int pet1HungerValue = sharedPref.getInt("pet1hunger", 100);
// Get Pet2, default to dog
String pet2 = sharedPref.getString("pet2", "dog");
int pet2HungerValue = sharedPref.getInt("pet2hunger", 100);
// Get a reference to our Firebase Realtime Database
mDatabase = FirebaseDatabase.getInstance().getReference();
// Get our user's email
String userId = FirebaseAuth.getInstance().getCurrentUser().getUid();
// Get reference to our user's pet data
mUserRef = mDatabase.child("pets_database").child(userId);
mUserRef.child("pet1").child("type").setValue(pet1);
mUserRef.child("pet1").child("hunger").setValue(pet1HungerValue);
mUserRef.child("pet2").child("type").setValue(pet2);
mUserRef.child("pet2").child("hunger").setValue(pet2HungerValue);
initialiseWidgetsForPet("pet1", pet1Image, RC_PICK_IMAGE_1, pet1HungerText, pet1Button, pet1, pet1HungerValue);
initialiseWidgetsForPet("pet2", pet2Image, RC_PICK_IMAGE_2, pet2HungerText, pet2Button, pet2, pet2HungerValue);
}
private void initialiseWidgetsForPet(String petId, ImageView petImage,
int imageRC, TextView hungerText,
Button petButton, String pet, int petHungerValue) {
// This function runs for each pet we have
petImage.setOnClickListener(view -> {
Intent intent = new Intent();
intent.setType("image/*");
intent.setAction(Intent.ACTION_GET_CONTENT);
startActivityForResult(Intent.createChooser(intent, "Select Picture"), imageRC);
});
// Set the image based on which pet it is
if (pet.equals("cat")) {
petImage.setImageResource(R.drawable.cat);
} else if (pet.equals("dog")) {
petImage.setImageResource(R.drawable.dog);
} else { // Else it probably is a fish
petImage.setImageResource(R.drawable.fish);
}
hungerText.setText(Integer.toString(petHungerValue));
mUserRef.child(petId).child("hunger").addValueEventListener(new ValueEventListener() {
@Override
public void onDataChange(@NonNull DataSnapshot snapshot) {
hungerText.setText(Integer.toString(snapshot.getValue(int.class)));
}
@Override
public void onCancelled(@NonNull DatabaseError error) {
}
});
mUserRef.child(petId).child("imageUrl").addValueEventListener(new ValueEventListener() {
@Override
public void onDataChange(@NonNull DataSnapshot snapshot) {
if (snapshot.exists()) {
String imageUrlString = snapshot.getValue(String.class);
setBitmapFromURL(imageUrlString, petImage);
}
}
@Override
public void onCancelled(@NonNull DatabaseError error) {
}
});
// Set onclicklistener to increment hunger by 1 for each button click
petButton.setOnClickListener(view -> {
int oldHunger = Integer.parseInt(hungerText.getText().toString());
hungerText.setText(Integer.toString(oldHunger + 1));
mUserRef.child(petId).child("hunger").setValue(oldHunger + 1);
});
}
@Override
protected void onActivityResult(int requestCode, int resultCode, @Nullable Intent data) {
super.onActivityResult(requestCode, resultCode, data);
if (requestCode == RC_PICK_IMAGE_1 || requestCode == RC_PICK_IMAGE_2) {
try {
InputStream inputStream = getContentResolver().openInputStream(data.getData());
StorageReference storageRef = FirebaseStorage.getInstance().getReference();
String userId = FirebaseAuth.getInstance().getCurrentUser().getUid();
StorageReference userStorageRef = storageRef.child(userId).child(Integer.toString(requestCode));
userStorageRef.putStream(inputStream)
.continueWithTask(taskSnapshot -> {
return userStorageRef.getDownloadUrl();
}).addOnCompleteListener(task -> {
if (task.isSuccessful()) {
String imageUrl = task.getResult().toString();
mUserRef.child("pet" + requestCode).child("imageUrl").setValue(imageUrl);
}
});
} catch (FileNotFoundException ex) {
}
}
}
/**
* Generic function to set an ImageView from a given url
*/
private void setBitmapFromURL(String imageString, ImageView imageView) {
    new Thread(() -> {
        // We will need to download the image, on a separate thread/process to avoid hanging our UI
        try {
            // We use try/catch since our download may not succeed
            // First convert the url to a URL type object
            URL imageURL = new URL(imageString);
            // Set up connection to the URL
            HttpURLConnection connection = (HttpURLConnection) imageURL.openConnection();
            // Used to indicate we are using the URL connection for input
            connection.setDoInput(true);
            // Attempt to initiate the connection
            connection.connect();
            // Get an inputstream that will receive our Image
            InputStream inputStream = connection.getInputStream();
            // Convert the bytes received from the stream into a Bitmap
            Bitmap bitmap = BitmapFactory.decodeStream(inputStream);
            // Now that we have our downloading Bitmap, we go back to the thread running the UI
            // so we can finally set the bitmap to the ImageView
            runOnUiThread(() -> imageView.setImageBitmap(bitmap));
        } catch (Exception ex) {
        }
    }).start();
}
}
Test out your app now! The images should change when you choose a new image from your image picker!
